Ditter
A real-time dithering tool with 60+ algorithms, GPU acceleration, video support, and a pattern playground.
Ditter is a browser-based (and desktop via Tauri) image and video dithering tool. It transforms images and video frames using a wide variety of dithering, halftone, pattern, and creative algorithms, all processed in real-time. Many algorithms are GPU-accelerated via WebGL2 for instant feedback even on large images. Videos can be processed frame-by-frame and rendered to WebM.
How It Works
The processing pipeline runs in this order for every parameter change:
1. Adjustments (contrast, midtones, highlights, invert) → 2. Blur / Smoothing / Depth → 3. Scale (downscale for pixelation) → 4. Dither Algorithm → 5. Upscale (back to original size) → 6. Blend (mix with original) → 7. Effects Layer (post-processing)
Steps 1-6 run in a Web Worker off the main thread. If WebGL2 is available, per-pixel-independent algorithms run on the GPU. Sequential algorithms (error diffusion, creative) run on the CPU with optimized routines. Step 7 (Effects Layer) runs on the main thread after the dithered result is returned, and is skipped entirely when no effects are active. When only effects change, the dither step is not re-run, making adjustments instant.
Getting Started
Loading an Image
Drag and drop an image onto the canvas, click the drop zone to browse, or use Ctrl+O to open the file picker. Supported formats: PNG, JPG, WebP, GIF.
Loading a Video
Drag and drop a video file (MP4, WebM, or QuickTime) onto the canvas, or use the file picker. Ditter will extract frames and display a filmstrip below the canvas. Each frame is dithered using the same processing pipeline as images. See the Video section for full details.
Generating a Gradient
Click "Or generate a gradient" in the drop zone (or "Generate Gradient" in the Source section) to create a synthetic gradient. Choose between solid color, linear gradient, or radial gradient. Adjust colors, dimensions, and angle.
Choosing an Algorithm
Use the Category dropdown to pick an algorithm family, then the Algorithm dropdown to select a specific method. Results update in real-time as you change settings.
Toolbar
The header toolbar provides image transform controls:
Flip H / Flip V / Rotate (90 CW) / Reset (undo all transforms)
Error Diffusion
Error diffusion algorithms quantize each pixel to the nearest palette color, then distribute the quantization error to neighboring pixels. This creates organic, film-grain-like dithering with no visible pattern. All error diffusion algorithms are inherently sequential (left-to-right, top-to-bottom) and run on the CPU.
Ordered Dithering
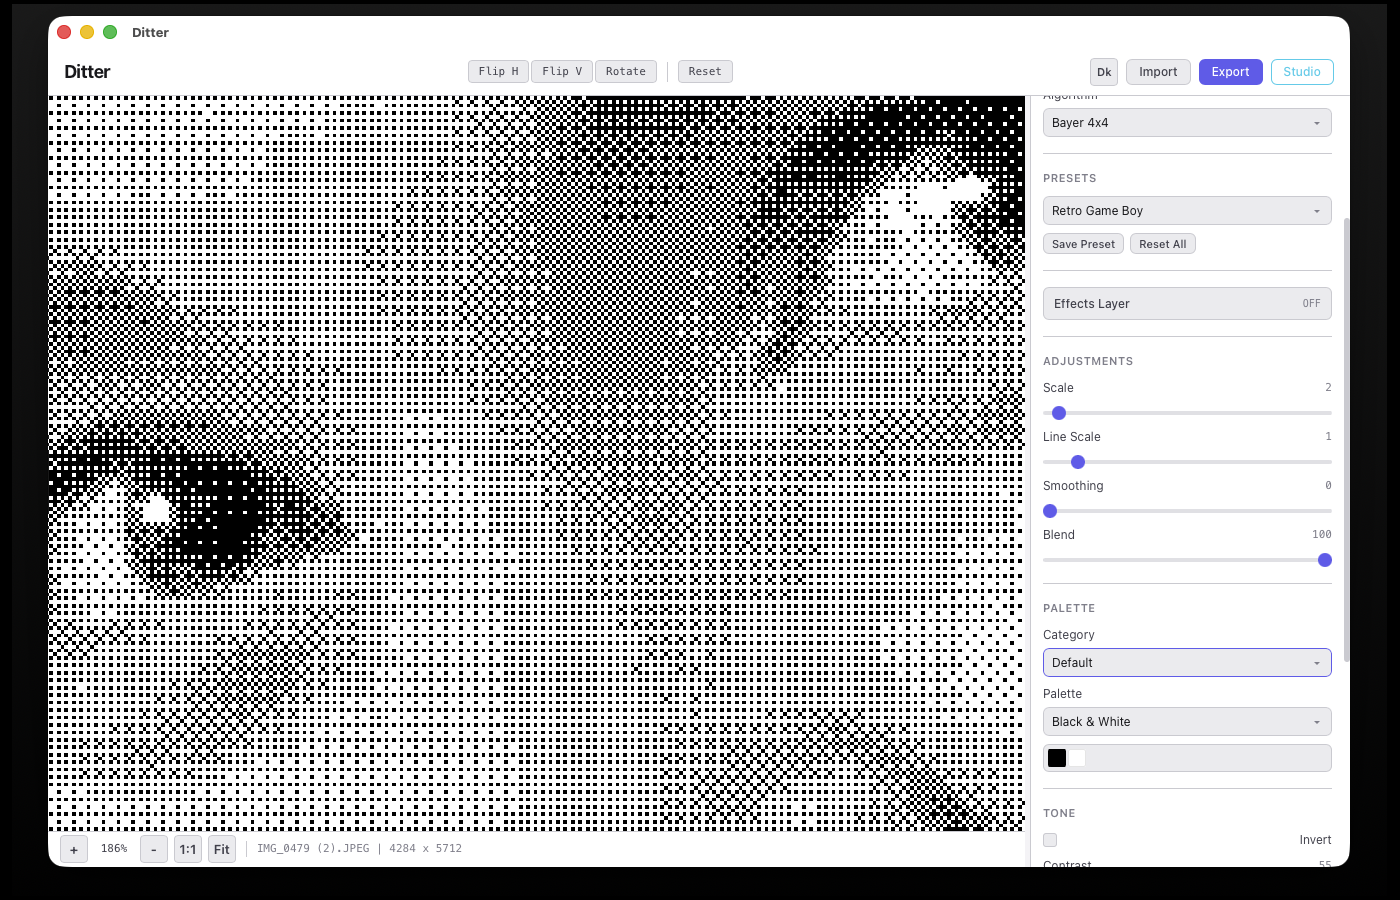
Ordered dithering compares each pixel against a repeating threshold matrix (Bayer matrix). The result is a regular, tile-like pattern. All Bayer variants are GPU-accelerated.
Halftone
Halftone algorithms simulate traditional printing. They divide the image into cells and render each cell as a shape (dot, line, diamond, etc.) whose size is proportional to the local darkness. All halftone algorithms are GPU-accelerated.
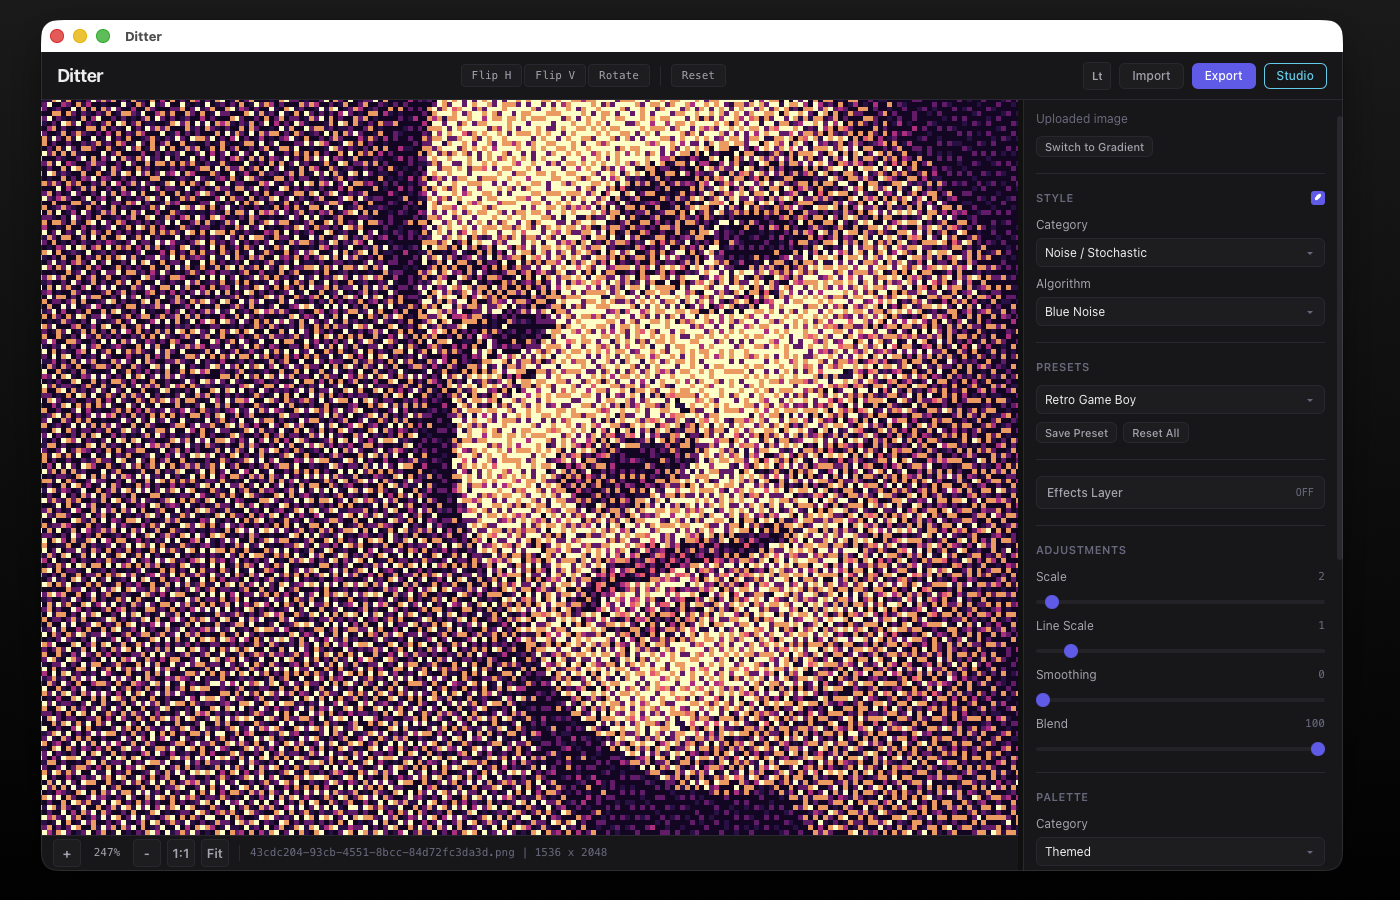
Noise / Stochastic
Noise-based dithering uses random or pseudo-random threshold values per pixel. These create organic, grain-like textures with no regular pattern.
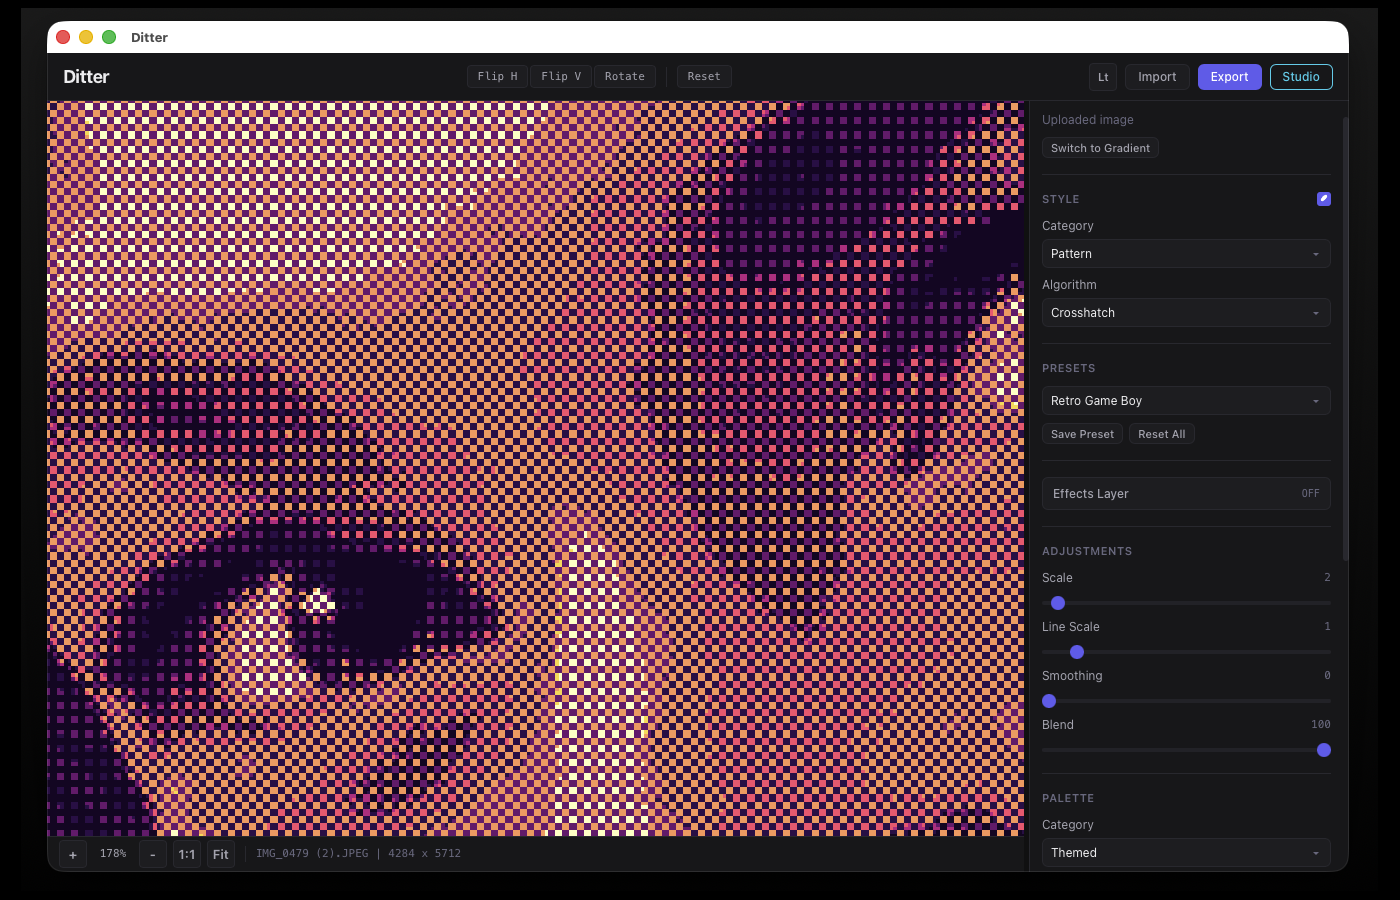
Pattern
Pattern algorithms apply geometric, repeating structures as dithering thresholds. The pattern modulates the threshold spatially, creating decorative and structural effects.
| Algorithm | Description | Accel |
|---|---|---|
| Checkerboard | 2x2 alternating pixel pattern | GPU |
| Horizontal Lines | Varying density horizontal stripes | GPU |
| Vertical Lines | Varying density vertical stripes | GPU |
| Crosshatch | Combined H/V + diagonal lines | GPU |
| Diagonal Lines | 45-degree diagonal stripes | GPU |
| Spiral | Spiral pattern radiating from center | GPU |
| Hexagonal | Hex grid tiling with distance-from-center threshold | GPU |
| Brick | Offset rectangular brick wall pattern | GPU |
| Wave Sine | Undulating sine wave threshold | GPU |
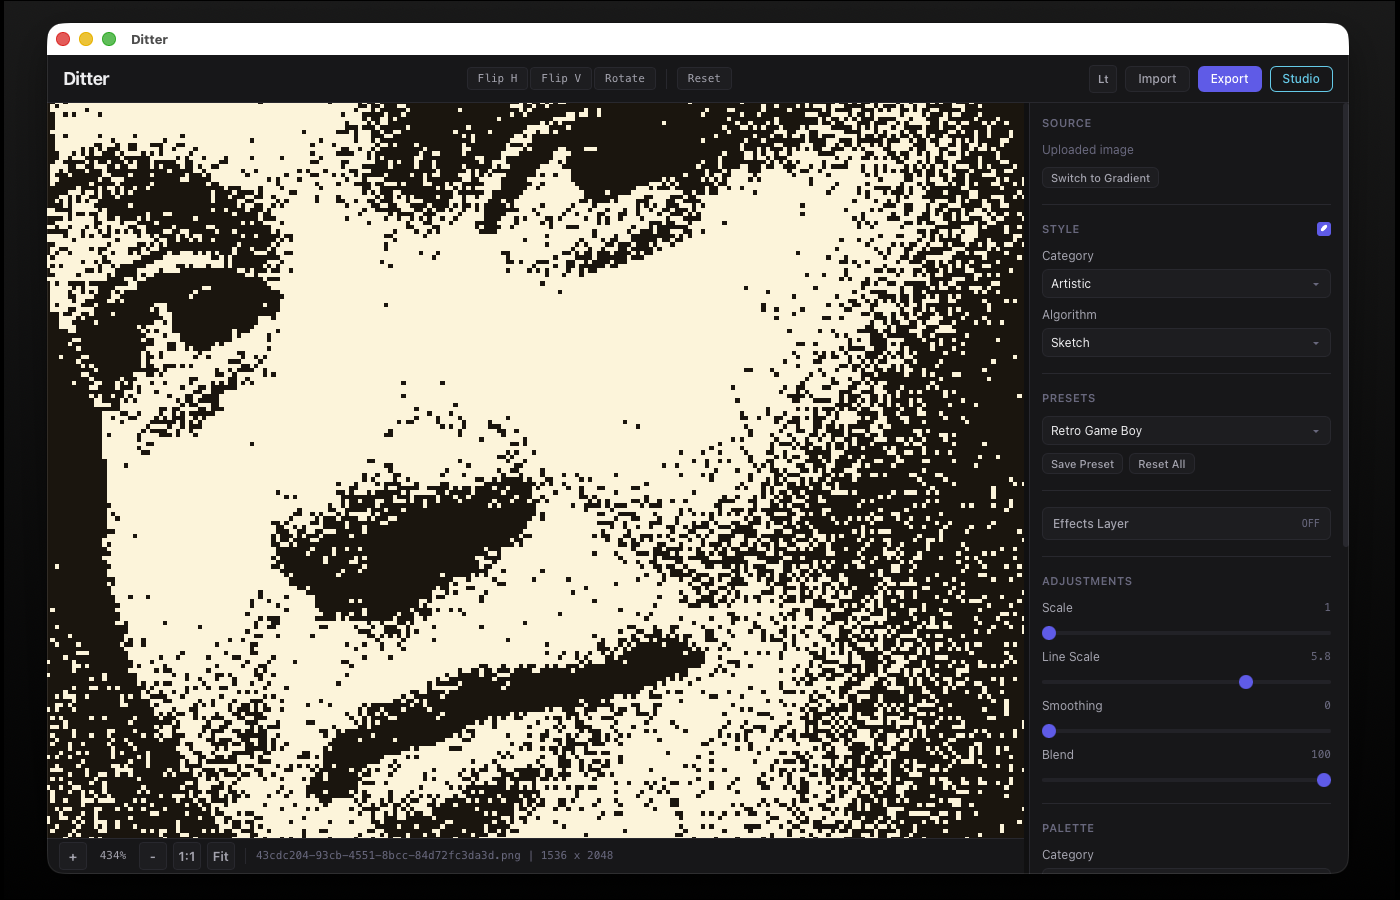
Artistic
Artistic algorithms go beyond traditional dithering to produce stylized, illustrative effects. These simulate techniques from printmaking, painting, and digital art.
Threshold
Threshold algorithms quantize pixels based on brightness cutoffs. Simple and fast, they produce bold, high-contrast results.
Creative / Experimental
These algorithms push beyond traditional dithering into generative art, glitch aesthetics, and simulation-based rendering. Some are computationally intensive but produce unique results.
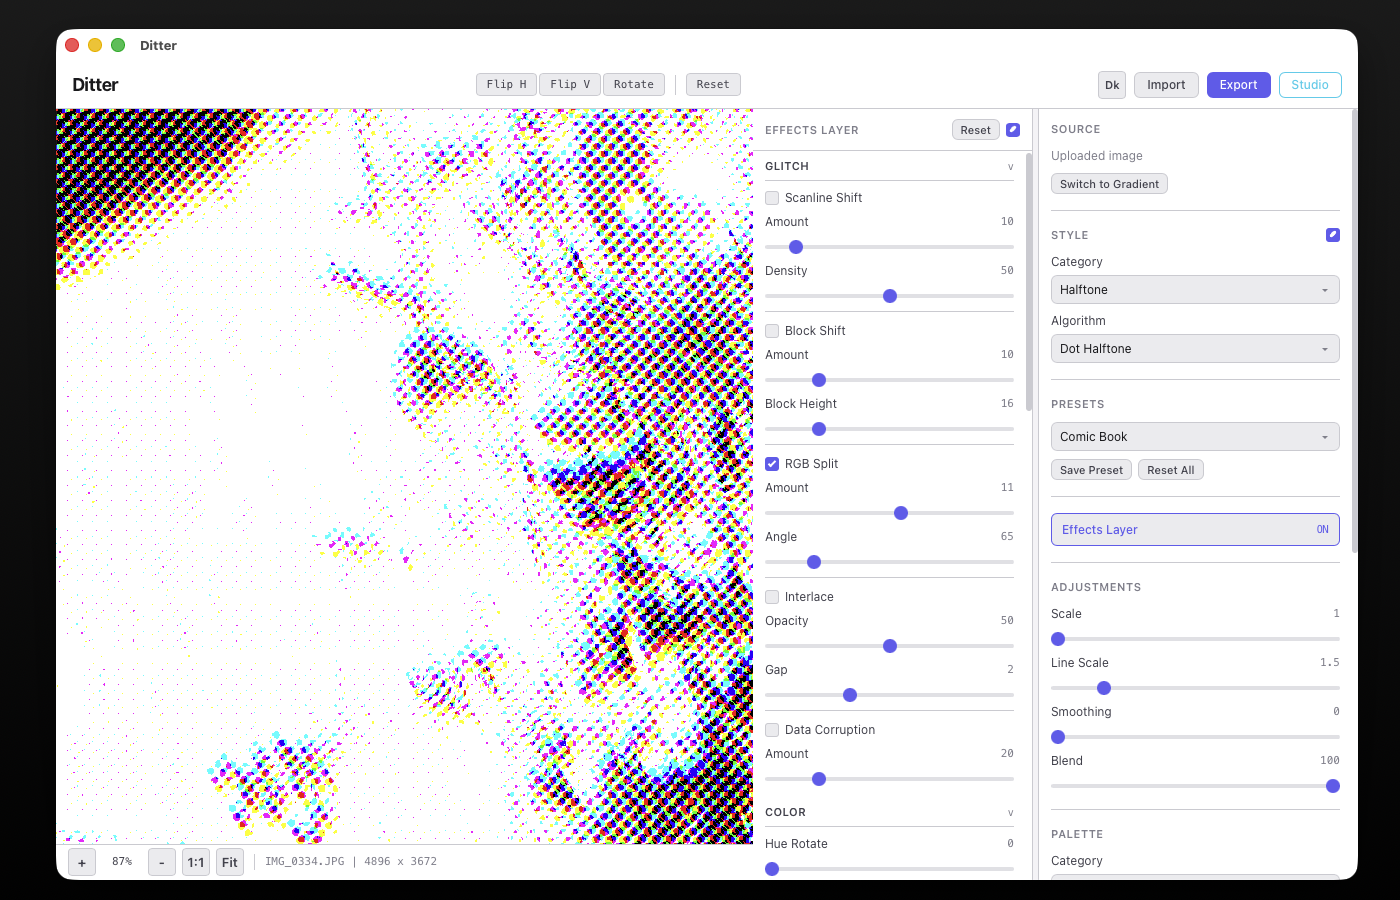
Effects Layer
The Effects Layer is a post-processing pipeline that runs after dithering. It provides 16 effects across 4 categories that can be combined to create glitch, color, texture, and distortion effects on your dithered output. Open it by clicking Effects Layer in the control panel, which slides open a secondary sidebar.
Effects are applied on the main thread to the cached dithered result. This means changing effect parameters is instant, no re-dithering required. The processing order is: Color → Chromatic Aberration → Distort → Glitch → Texture.
Controls
The Effects panel has a master toggle (enable/disable all effects at once) and a Reset button that returns all parameters to their defaults. Each category section is collapsible.
Glitch (5 effects)
Color (6 controls + Chromatic Aberration)
| Control | Range | Default | Description |
|---|---|---|---|
| Hue Rotate | 0 - 360 | 0 | Rotates all colors around the color wheel. |
| Saturation | 0 - 200 | 100 | Color intensity. 0 = grayscale, 100 = normal, 200 = oversaturated. |
| Temperature | -100 to +100 | 0 | Warm/cool color shift. Positive = warmer, negative = cooler. |
| Red / Green / Blue | 0 - 200 | 100 each | Independent per-channel intensity (channel mixer). |
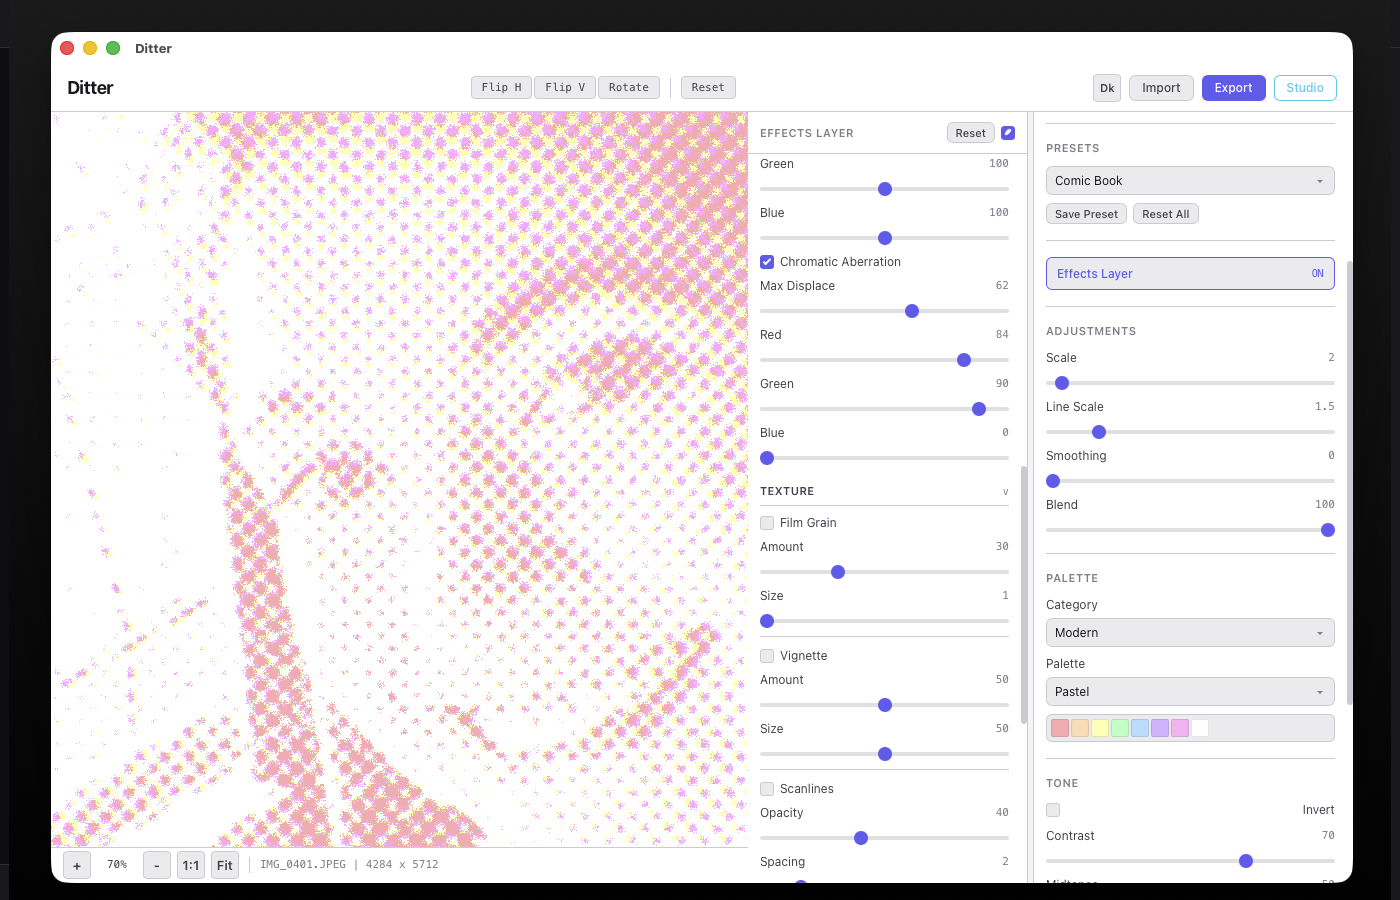
Chromatic Aberration
A radial per-channel displacement effect. Each color channel (R, G, B) is displaced outward from the image center by a configurable amount, producing a lens-like color fringing effect. The displacement is proportional to the distance from center.
| Control | Range | Default | Description |
|---|---|---|---|
| Max Displace | 1 - 100 | 20 | Maximum pixel displacement at the image edges. |
| Red | 0 - 100 | 10 | Red channel displacement fraction (% of max). |
| Green | 0 - 100 | 90 | Green channel displacement fraction. |
| Blue | 0 - 100 | 50 | Blue channel displacement fraction. |
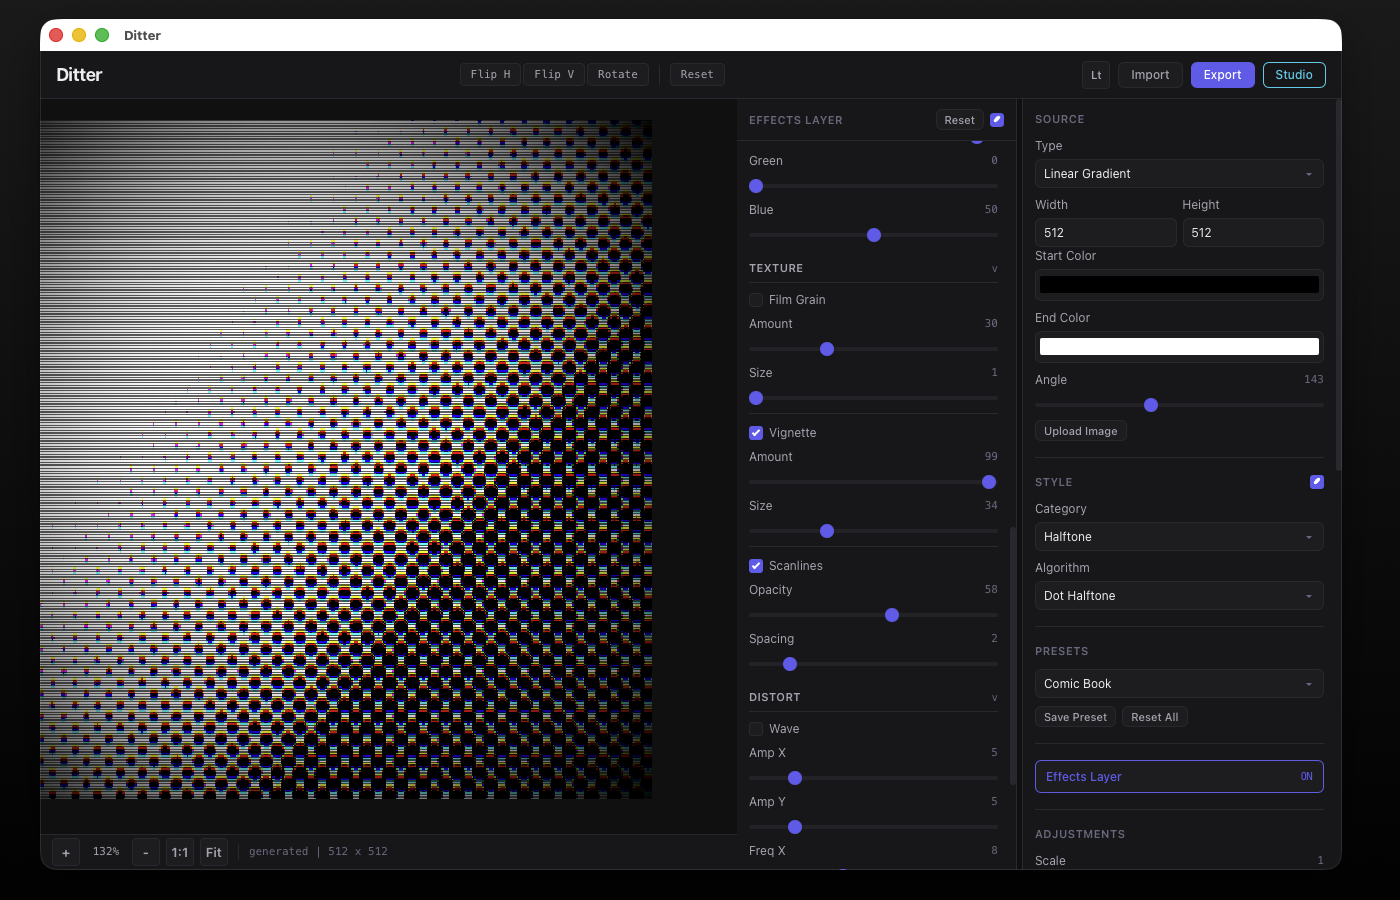
Texture (3 effects)
Distort (3 effects)
Dither Bypass
The Style section includes a toggle switch next to the section title that enables or disables all dithering. When disabled, the image passes through without any dither algorithm applied, letting you use effects on the original image directly.
Color Palettes
Ditter ships with 34+ built-in palettes across 4 categories. You can also create custom palettes.
Default
| Palette | Colors | Use Case |
|---|---|---|
| Black & White | 2 | Classic 1-bit dithering |
| Black, Gray, White | 3 | Simple tonal range |
| Grayscale 4 / 8 / 16 | 4, 8, 16 | Monochrome with more tonal steps |
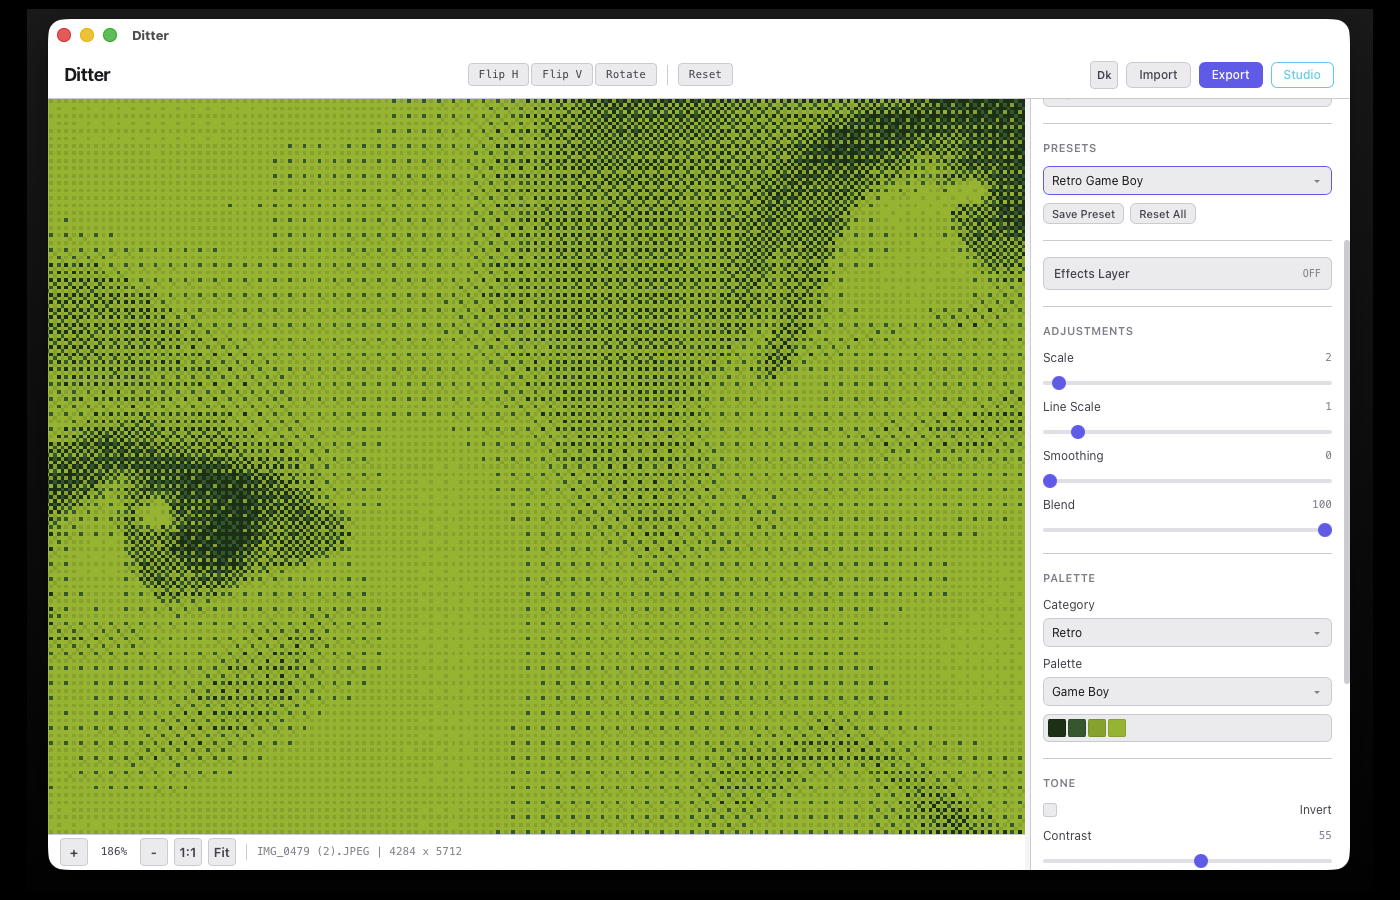
Retro
| Palette | Colors | Era |
|---|---|---|
| Game Boy / Game Boy Pocket | 4 | Nintendo 1989 |
| CGA Palette 0 / 1 | 4 | IBM PC 1981 |
| EGA | 16 | IBM PC 1984 |
| Commodore 64 | 16 | Commodore 1982 |
| ZX Spectrum | 15 | Sinclair 1982 |
| NES | 54 | Nintendo 1983 |
| SNES | 16 | Nintendo 1990 |
| Sega Genesis | 64 | Sega 1988 |
Modern
Contemporary palettes: Pastel, Neon, Earth Tones, Ocean, Sunset, Forest (8 colors each).
Themed
Stylistic palettes: Bubblegum, Vaporwave, Cyberpunk, Retrowave, Monochrome Blue/Red/Green, Sepia (8 colors each).
Presets
Presets save and restore all control panel settings at once. Ditter includes 21 built-in presets covering a range of classic and creative styles.
You can also Save Preset to create your own, and Reset All to return to defaults.
Controls Reference
All adjustable parameters in the control panel:
| Control | Range | Default | Description |
|---|---|---|---|
| Scale | 1 - 8 | 1 | Downscale factor. Higher values create larger, blockier pixels (pixelation effect). |
| Line Scale | 0.1 - 3.0 | 1 | Scales pattern/halftone cell sizes and line spacing. Higher = coarser patterns. |
| Smoothing | 0 - 100 | 0 | Pre-dither blur. Reduces noise in the source, producing cleaner dithering. |
| Blend | 0 - 100 | 100 | Mix between original and dithered result. 0 = original, 100 = fully dithered. |
| Contrast | 0 - 100 | 50 | Pre-dither contrast adjustment. Uses a tangent curve for smooth control. |
| Midtones | 0 - 100 | 50 | Gamma adjustment for midtone brightness. Below 50 = darker, above 50 = lighter. |
| Highlights | 0 - 100 | 50 | Boosts or dims bright areas specifically. |
| Threshold | 0 - 100 | 50 | Algorithm-specific threshold. Controls cutoff for threshold algorithms, band width for pixel sort, etc. |
| Blur | 0 - 10 | 0 | Pre-dither box blur (3-pass separable, O(n) regardless of radius). |
| Depth | 0 - 10 | 0 | Edge enhancement via unsharp mask. Sharpens detail before dithering. |
| Invert | on/off | off | Inverts colors before dithering. |
Dither Studio
The Studio is an advanced editor for creating custom dithering patterns. Open it via the Studio button in the header.
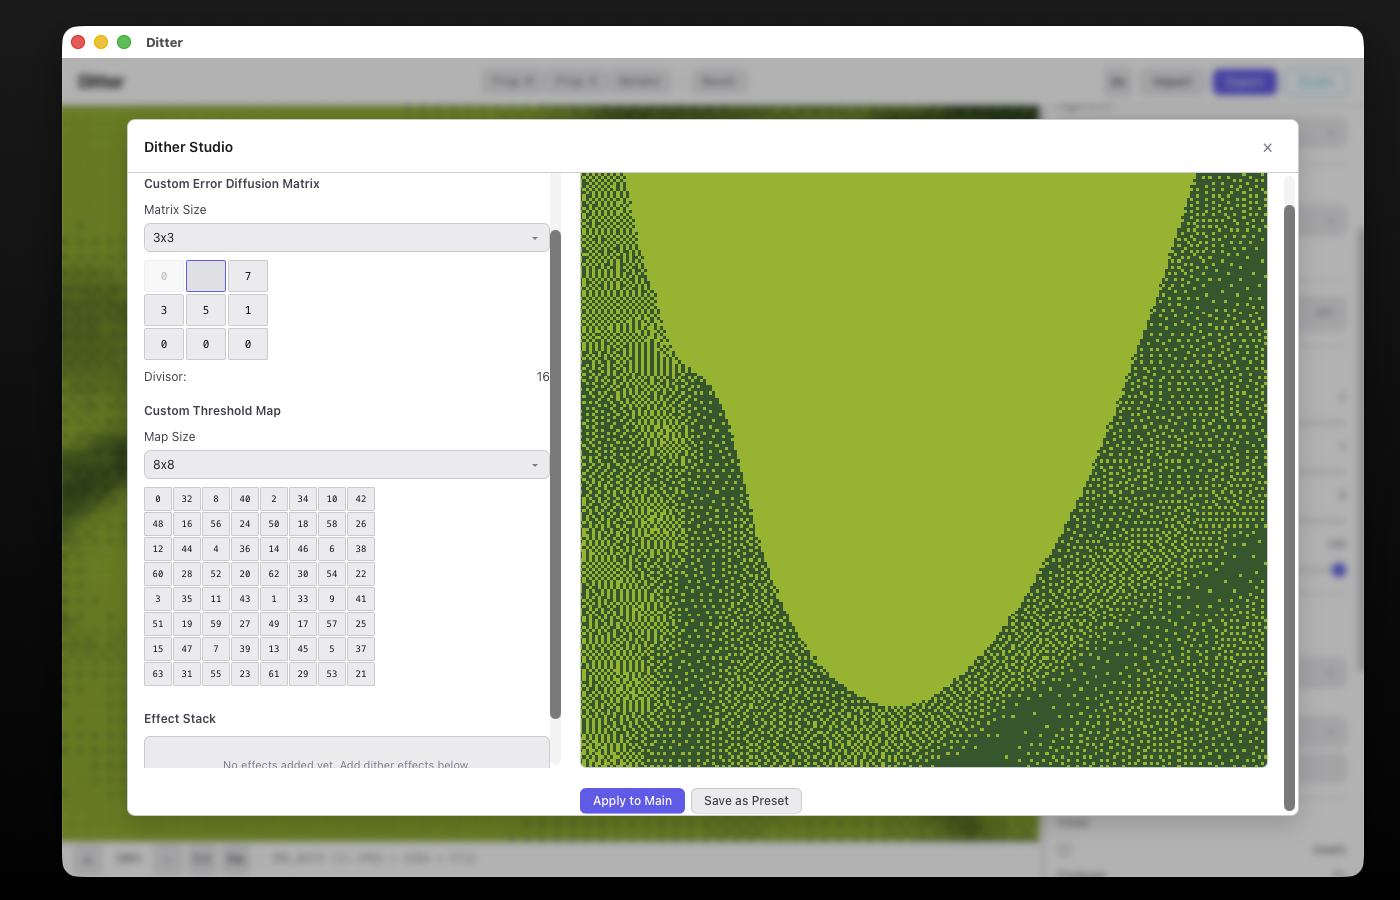
Classic Tab
Edit custom error diffusion matrices and threshold maps directly. Set matrix size, adjust individual weights, and see the divisor update automatically. Changes preview in real-time on the right.
Paint Tab
Draw threshold patterns freehand on a pixel grid (8x8, 16x16, or 32x32). Select a brush value (0-255) and paint directly. Tools: Clear, Invert, Random, Bayer Fill.
Shape Lab
Generate threshold patterns from mathematical shapes: circle, diamond, square, cross, star, ring, hexagon. Adjust cell size, rotation angle, and elongation. A live preview shows the distance field.
Wave Mixer
Combine up to 8 wave layers to create complex threshold patterns. Each layer has: wave type (sine/triangle/sawtooth/square), direction, frequency, amplitude, phase, and blend mode (add/multiply/min/max).
Keyboard Shortcuts
Video Mode
These shortcuts are active when a video is loaded:
Pan the canvas by clicking and dragging. Zoom with the scroll wheel (zooms toward cursor).
Performance
Ditter uses several strategies to keep processing fast:
GPU Acceleration
~28 algorithms run on the GPU via WebGL2 fragment shaders. This includes all ordered, halftone, noise, pattern, and basic threshold algorithms. Processing is essentially instant regardless of image size.
Web Worker
All processing runs in a dedicated Web Worker, keeping the UI responsive. Results are transferred back via zero-copy buffer transfer.
Optimized Algorithms
CPU algorithms use: k-d tree palette lookups (O(log n) vs O(n) linear search), pre-computed LUTs for adjustments, separable box blur (O(n) regardless of radius), and spatial grid indexing for Voronoi-based algorithms.
Reaction-Diffusion GPU Pipeline
The reaction-diffusion algorithm uses a special multi-pass GPU pipeline with ping-pong framebuffers. The Gray-Scott simulation runs entirely on the GPU using RGBA16F float textures, making it 50-100x faster than CPU.
Speed Reference
| Category | Speed | Notes |
|---|---|---|
| GPU algorithms | Instant | < 5ms on any image size |
| Error diffusion | Fast | ~20-50ms for 1080p |
| Artistic (most) | Fast | ~30-80ms |
| Stippling / Flow | Moderate | ~200-500ms |
| DLA Clustering | Slow | ~1-3s depending on image size |
Note: Running via file:// protocol disables Web Workers and WebGL in workers. Use a local HTTP server (python3 -m http.server 8000) or the Tauri desktop app for full performance.
Export
Click Export (or Ctrl+E) to open the export dialog.
Options
| Setting | Description |
|---|---|
| Format | PNG (lossless, default), JPEG, WebP, or SVG (Vector) |
| Quality | 1-100, for JPEG/WebP only (hidden for PNG and SVG) |
| Scale | 1x, 2x, 4x output resolution multiplier (hidden for SVG) |
| Filename | Custom filename (defaults to "ditter-export") |
SVG Export
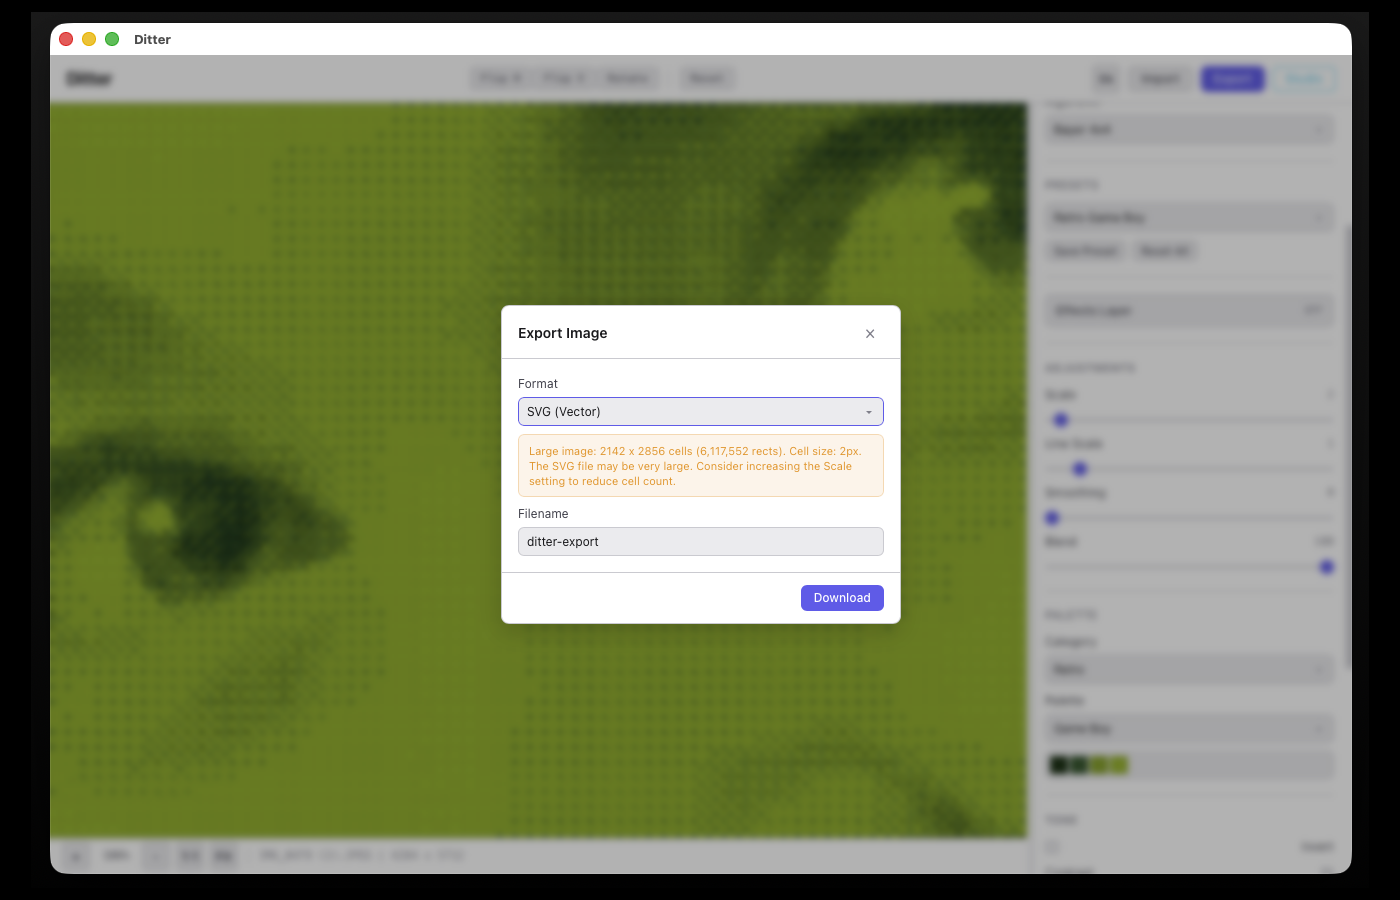
SVG export converts the dithered result into a scalable vector file. The exporter scans the image to detect the effective cell size (the pixel block size used by the dither algorithm), then represents each cell as an SVG <rect>. Cells are grouped by color for efficiency, and consecutive cells on the same row are merged into wider rectangles to reduce file size. The most common color is used as a background fill.
When SVG is selected, the dialog shows an info line with the detected cell size and total cell count. For large images (over 100,000 cells), a warning is displayed since the resulting SVG file may be very large. SVG is most effective with low-resolution dithered images or high Scale values where each visible "pixel" covers multiple actual pixels.
On the Tauri desktop app, export opens a native Save As dialog so you can choose the destination folder. In the browser, files are downloaded directly.
For video export, see the Video section below.
Themes
Toggle between dark and light mode with the theme button (Lt/Dk) in the top-right corner. Your preference is saved to localStorage.
Video
Ditter can load video files and apply dithering frame-by-frame using the same processing pipeline as images. The result can be rendered to a downloadable WebM file.
Loading a Video
Drag and drop an MP4, WebM, or QuickTime file onto the canvas (or use the file picker). Ditter extracts the video metadata, calculates the total frame count, and builds a filmstrip of thumbnails below the canvas. Frame 0 is displayed and dithered automatically.
Filmstrip
The filmstrip appears below the canvas when a video is loaded. It includes:
| Control | Description |
|---|---|
| Prev / Next | Step one frame backward or forward |
| Play / Pause | Preview playback at ~8fps (dithered in real-time) |
| Frame counter | Shows current frame number and total |
| Scrubber | Drag to seek to any frame |
| Time display | Current time position in the video |
| Thumbnail track | Click any thumbnail to jump to that frame. For long videos (300+ frames), thumbnails are sampled at 1 per second. |
Processing
Every dithering control (algorithm, palette, scale, contrast, etc.) works exactly as with images. When you change a setting, the current frame is re-processed and the processed frame cache is cleared so that subsequent frames use the new settings.
Ditter maintains an LRU cache of up to 50 processed frames. Previously visited frames with unchanged settings display instantly from the cache.
Rendering
Click the Render button in the header (visible only in video mode) to open the render dialog. Options:
| Setting | Description |
|---|---|
| FPS | Output frame rate: 12, 15, 24 (default), or 30 |
| Quality | Bitrate in Mbps (1, 20, default 8) |
| Filename | Output filename (defaults to "ditter-video") |
Rendering processes every frame sequentially through a dedicated Web Worker, draws each result to a canvas, and captures the stream using MediaRecorder. The output format is WebM (VP9 preferred, VP8 fallback). A progress bar shows completion percentage, and rendering can be cancelled at any time.
On the Tauri desktop app, a native Save As dialog lets you choose where to save the WebM file. In the browser, the file downloads automatically.
Memory
Raw video frames are never stored in memory. They are extracted on-demand from the video element via seeking. The processed frame cache holds up to 50 frames (roughly 400MB at 1080p in the worst case). Thumbnails are lightweight (~40KB each). During rendering, frames flow sequentially through the worker and are not cached.
Packaging and Deployment
Ditter is built with Tauri v2, which compiles your web frontend into a native desktop app with a small Rust backend. Here is what you need to know to package and distribute the app.
Prerequisites
| Requirement | Details |
|---|---|
| Rust | Install via rustup. The Tauri CLI uses Cargo internally. |
| Node.js | For any frontend build tooling (Ditter uses a simple HTTP server for dev). |
| Tauri CLI | cargo install tauri-cli --version "^2" |
| Platform tools | macOS: Xcode Command Line Tools. Windows: Visual Studio Build Tools + WebView2. Linux: see Tauri prerequisites. |
Development
Run cargo tauri dev from the project root. This starts the dev HTTP server and compiles the Rust backend in debug mode with hot-reload on file changes.
Building for Release
Run cargo tauri build to create a production build. This produces platform-specific installers:
| Platform | Output | Location |
|---|---|---|
| macOS | .dmg and .app bundle | src-tauri/target/release/bundle/dmg/ |
| Windows | .msi and .exe (NSIS) | src-tauri/target/release/bundle/nsis/ |
| Linux | .deb, .AppImage, .rpm | src-tauri/target/release/bundle/ |
Code Signing
To distribute outside of development, you should sign the app:
macOS: Requires an Apple Developer account ($99/year). Set the APPLE_SIGNING_IDENTITY environment variable or configure signing in tauri.conf.json under bundle > macOS. For notarization, also set APPLE_ID, APPLE_PASSWORD (app-specific), and APPLE_TEAM_ID.
Windows: Use a code signing certificate (EV or OV). Set TAURI_SIGNING_PRIVATE_KEY and related env vars. Tauri supports SignTool and Azure Trusted Signing.
Linux: No signing required for AppImage/deb distribution, though GPG signing is recommended for package repositories.
Cross-Platform Builds
Tauri builds natively, so you need each target OS to produce its installer. For CI/CD, use GitHub Actions with a matrix strategy across macOS, Windows, and Ubuntu runners. The tauri-action GitHub Action automates this and can create GitHub Releases with all installers attached.
Updater
Tauri v2 includes a built-in updater plugin (tauri-plugin-updater) that checks a remote JSON endpoint for new versions and downloads updates automatically. Configure the update URL in tauri.conf.json and host the update manifest alongside your release assets.
Ditter, a real-time dithering tool.